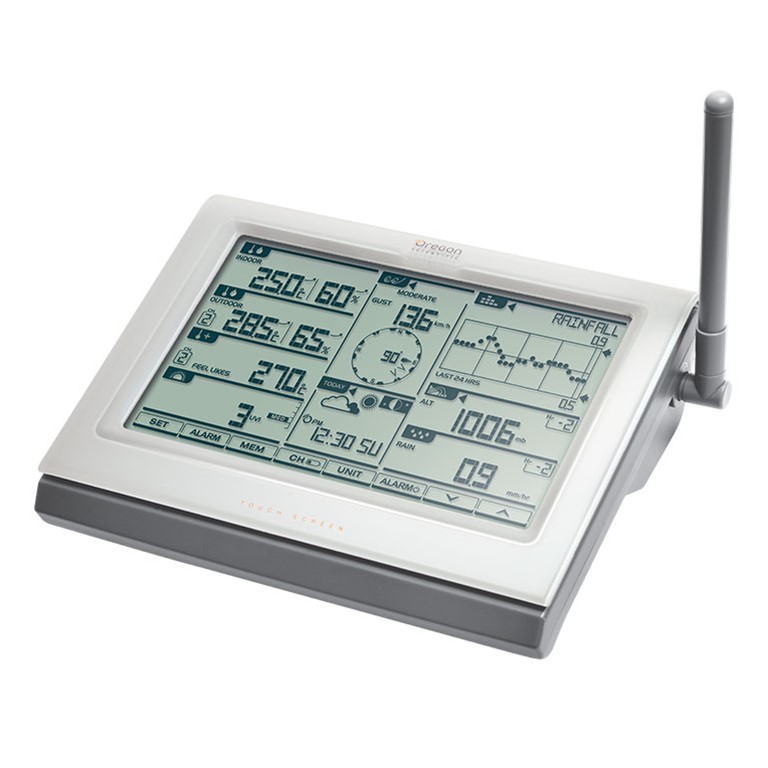
Oregon Scientific WMR300CA-OEM Display Console - Not In Retail Packaging
Console only - Sensor Not Included - Return for replacement only
Price: $99.99
Out Of Stock
 Free Shipping in the Contiguous U.S.
Oregon Scientific WMR300CA-OEM Display Console - Not In Retail Packaging is the replacement display console for the WMR300 or WMR300A.
Customer Reviews

Oregon Scientific WMR300 Console and Transmitter Pairing Support
*Proceed in order to pair the console to the transmitter.
- Verify the transmitter is set to channel 1. Unless there is a very specific reason to put the transmitter on channel 2 (used with multiple transmitters) the other channels should not be used
- Verify that the "SW5" switch (to the right of the channel switches) is in the Off position ("0" = Off)
- Turn the “SW4” switch in the transmitter to the off position (“0” = Off)
- Remove the battery from the transmitter and wait approximately 10 seconds
- Replace the battery in the transmitter
- Press the “Reset” button on the transmitter
- At this point the transmitter LED lights should begin to flash blue (normal transmission) after a brief initialization period of roughly 3 seconds
- On the console press the “Today” area
- Press and hold the “Set” and “Unit” buttons together for 2 – 3 seconds. You will hear an initial beep when the buttons are pressed and a secondary beep when successfully entering into the pairing mode
- At this point the console will display “CH1” in the “Today” area. If this doesn’t display repeat the process beginning with step 8
- In the “Outdoor” area on the console it will display “CH1” if channel 1 is already paired and dashes “- -“ if it is not paired
- Important: If the “Rain” and “Wind” area show a channel number other than “CH1” this is an indication of a problem in configuration which will be resolved in the following steps. It is important to note that the primary transmitter which will provide the temp/humidity rain and wind should be set to channel 1 only and when the console is paired with the transmitter on channel 1 the Outdoor, Rain and Wind areas should all display “CH1”. Deviating from this will complicate the pairing process. The additional sensors channels should be used only for additional sensors
- If the “Outdoor” area of the console displays anything but dashes “- -“ (CH1, CH2, Ch3 and so on) press an hold the “MEM” button on the bottom of the screen for 2 – 3 seconds to unpair the channel. The “Outdoor” area should then display dashes “- - “ indicating the channel is not paired
- Press the up arrow on the console to change the channel and verify that the channel being viewed is not currently paired (indicated by dashes “- -“ in the “Outdoor” area) Follow the previous steps to unpair the channel. Continue to check each sensor channel to verify that the channel is not paired
- After verifying and unpairing channels, press the up arrow to navigate to channel 1 in the Today area
- Press and hold the “Set” button for 2 - 3 seconds to pair channel 1
- Press anywhere on the console except for the “Today” area to return to the main screen
- On the transmitter, turn the “SW4” switch to the On position (“1” = On). For the next ten minutes the console can be paired to the transmitter.
- Within the next couple minutes the Outdoor, Wind and Rain areas will begin to display data